Local Electricians in Fayetteville, AR
Call this Sunday to Get
$35 OFFLocal Electricians in Fayetteville, AR
Call this Sunday to Get
$35 OFFCall this Sunday to Get
$35 OFFCall this Sunday to Get
$35 OFF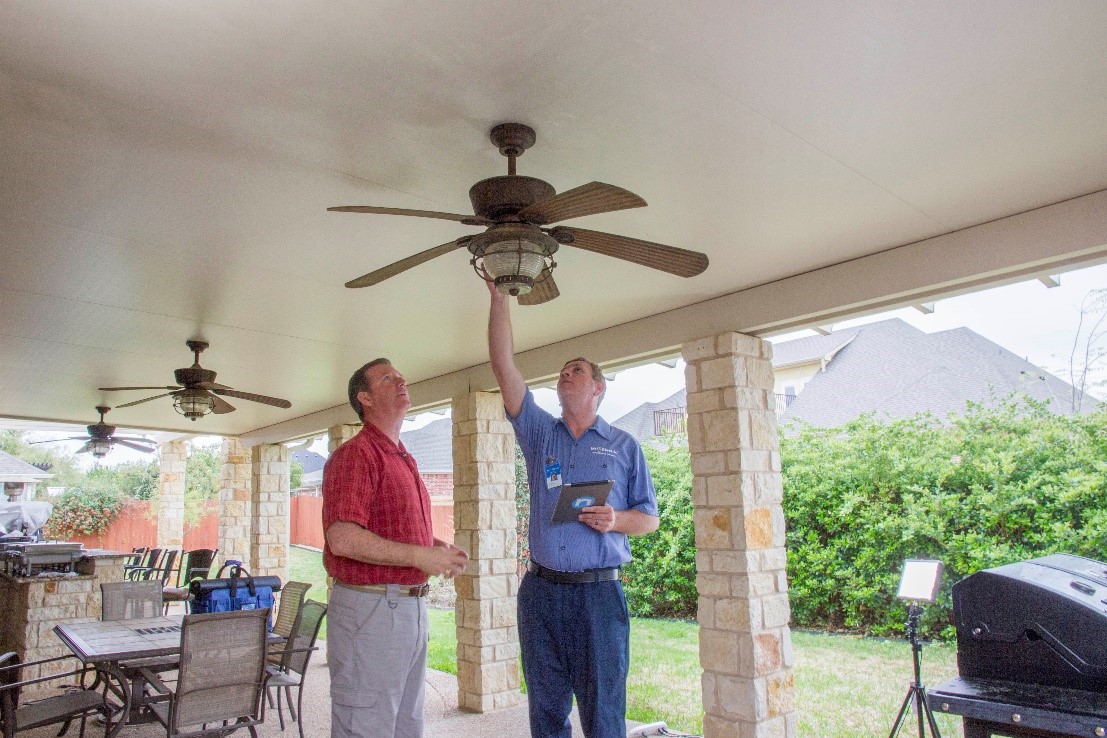
Installing a ceiling fan can make a big difference in your home's attic. But what if you don’t have attic access? That can sound tricky, but don’t worry! You can still do it with the right tools, clear steps, and patience. Whether handling a ceiling fan replacement or installing a fan for the first time, this guide can help you succeed. If you're unsure where to start or want to stay safe, it’s always smart to call Mr. Electric or a trusted professional.
Before you do anything, make sure the power is off. Go to your home’s breaker box and shut off the electricity to the room you’re working in. Flip the light switch a few times to make sure it’s off. Safety comes first! If you ever feel unsure, this is a good time to call an electrician in Springdale, AR to ensure the wires are safe to touch.
Use a screwdriver to remove the old light or fan. You’ll usually see some screws holding the base plate to the ceiling. Carefully remove them and slowly pull the fixture down. Be gentle—there will be wires still connected. You’ll see black (hot), white (neutral), and sometimes green or bare (ground) wires. Make a note or take a photo to remember where each one goes. You may even find signs of past electrical repair service work.
Now that the old fixture is gone, look at the electrical box in the ceiling. This is what will support your new fan. Not all boxes are made to hold something as heavy as a fan. If your box is plastic or wobbly, it’s time to upgrade. You’ll need a fan-rated box that can hold up the weight and movement of your new fan. If you're unsure how strong it is, it's smart to call Mr. Electric or another trusted electrician for help.
Since you don’t have attic access, you can use a special ceiling fan brace made for situations just like this. These braces fit through the hole in your ceiling and expand between the joists. It gives your fan a strong, stable place to hang. Slide the brace into the hole and twist it until it locks in tight between the ceiling joists. This step can feel tricky, but take your time and follow the directions. If you get stuck, an electrical repair service expert can help get you back on track.
Once your brace is in place, mount the new metal electrical box onto it. This is where your fan will connect. Make sure the box is secure and flush with the ceiling. Tug it a little to test if it’s firm. You don’t want any wobbling. Solid support is key for any ceiling fan replacement project.
If you’re like most homeowners, you’ve probably heard about smart doorbells. These nifty devices have taken the country by storm, with estimates suggesting that 1 in 4 homes now feature a…
.webp)
Carefully match up the wires from your new fan to the ones in the ceiling. Usually, this means connecting black to black, white to white, and green to bare or green. Use wire nuts to twist the wires together, then wrap each connection in electrical tape for extra safety. Push the wires back into the box gently. If your wires don’t match or look old, it might be time to bring in an electrician or call Mr. Electric for a full safety check.
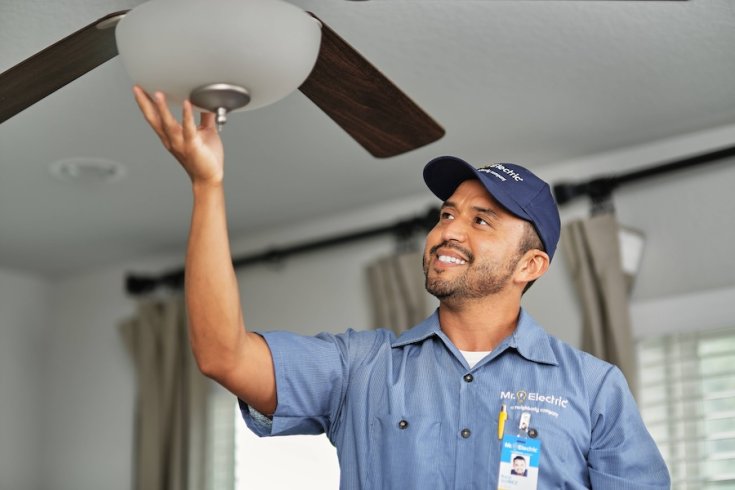
Now it’s time to secure the fan’s base to the box. Your fan’s instructions will guide you through the exact steps. After the base is mounted, attach the fan blades one at a time. Make sure each screw is tight so nothing wobbles when the fan turns on. Many fans also come with a light kit you can attach for lighting and airflow.
Go back to your breaker box and turn the power back on. Flip the switch in your room and test your fan. Try different speeds and see if the blades spin smoothly. Listen for rattling or shaking. If something feels off, double-check your work or call an electrical repair service professional to help you fix it.
Some parts of this project can feel overwhelming, especially if it’s your first time. And working with electricity always carries risks. If anything feels too hard or unsafe, don’t guess. That’s the perfect time to reach out to Mr. Electric. Their team can help with your ceiling fan replacement, check your wiring, or even install the whole fan for you.
You don’t need an attic to install a ceiling fan. With a little planning and the right steps, you can do it. Still, safety and quality matter. If you run into trouble, need advice, or just want it done fast and right, a trusted electrician can make all the difference. Whether you do it yourself or call Mr. Electric, your home will be cooler, brighter, and more comfortable in no time.
.webp)
Should I call for outlet repair, or do I…
Without regular maintenance, fans can wear out, produce unusual noises,…
.webp)
If you’ve ever been in the middle of cooking dinner…

Installing a ceiling fan can make a big difference in…